

I was living in London when my nephew was born. He was the first child to my sister and her husband, the first grandchild to my parents and the first baby I'd held properly. I mean, I'd probably held other babies in my life when I was a lot younger but this one was closely related to me. He was my sister's son. I held him, played with him and vaguely learned how to change a nappy.
He was born in the year 2000. The year we didn't know if computers would have destroyed the world thanks to the Y2K bug. The year I moved from a house share in Pimlico to a flat with my boyfriend (now husband) in Wapping. It was the year I changed jobs and my commute went from a 20 minute walk into The City to an underground train leading to the West End.
It feels like yesterday yet also feels like a lifetime ago.
And, for my nephew, it was a lifetime ago.
This week he's sitting his A-levels. And he's recently passed his driving test.
It's just so utterly bizarre that he is now an adult. I know, I know, it's a cliche about time going fast. And I know I've done so much since but I can still remember passing my driving test as a seventeen year old. I can remember sitting my GCSEs. I can remember going to college.
Anyway, I wasn't intending to go all misty eyed about the passage of time whilst I leant over my walking stick. I'm here to give you a chocolate cake recipe that is fit for a teenager. Especially one on the cusp of adulthood.
What's great about it is, whilst it does take a bit of time (making the cake batter, sugar syrup, buttercream and assembling) it isn't fiddly to make. And mistakes can quite easily be covered up. This is the perfect cake for those who can dedicate a few hours to make a homemade cake (and would prefer homemade over shop bought), for those who are a little unsure with their baking abilities and for those who have a chocolate-fiend as a loved one.
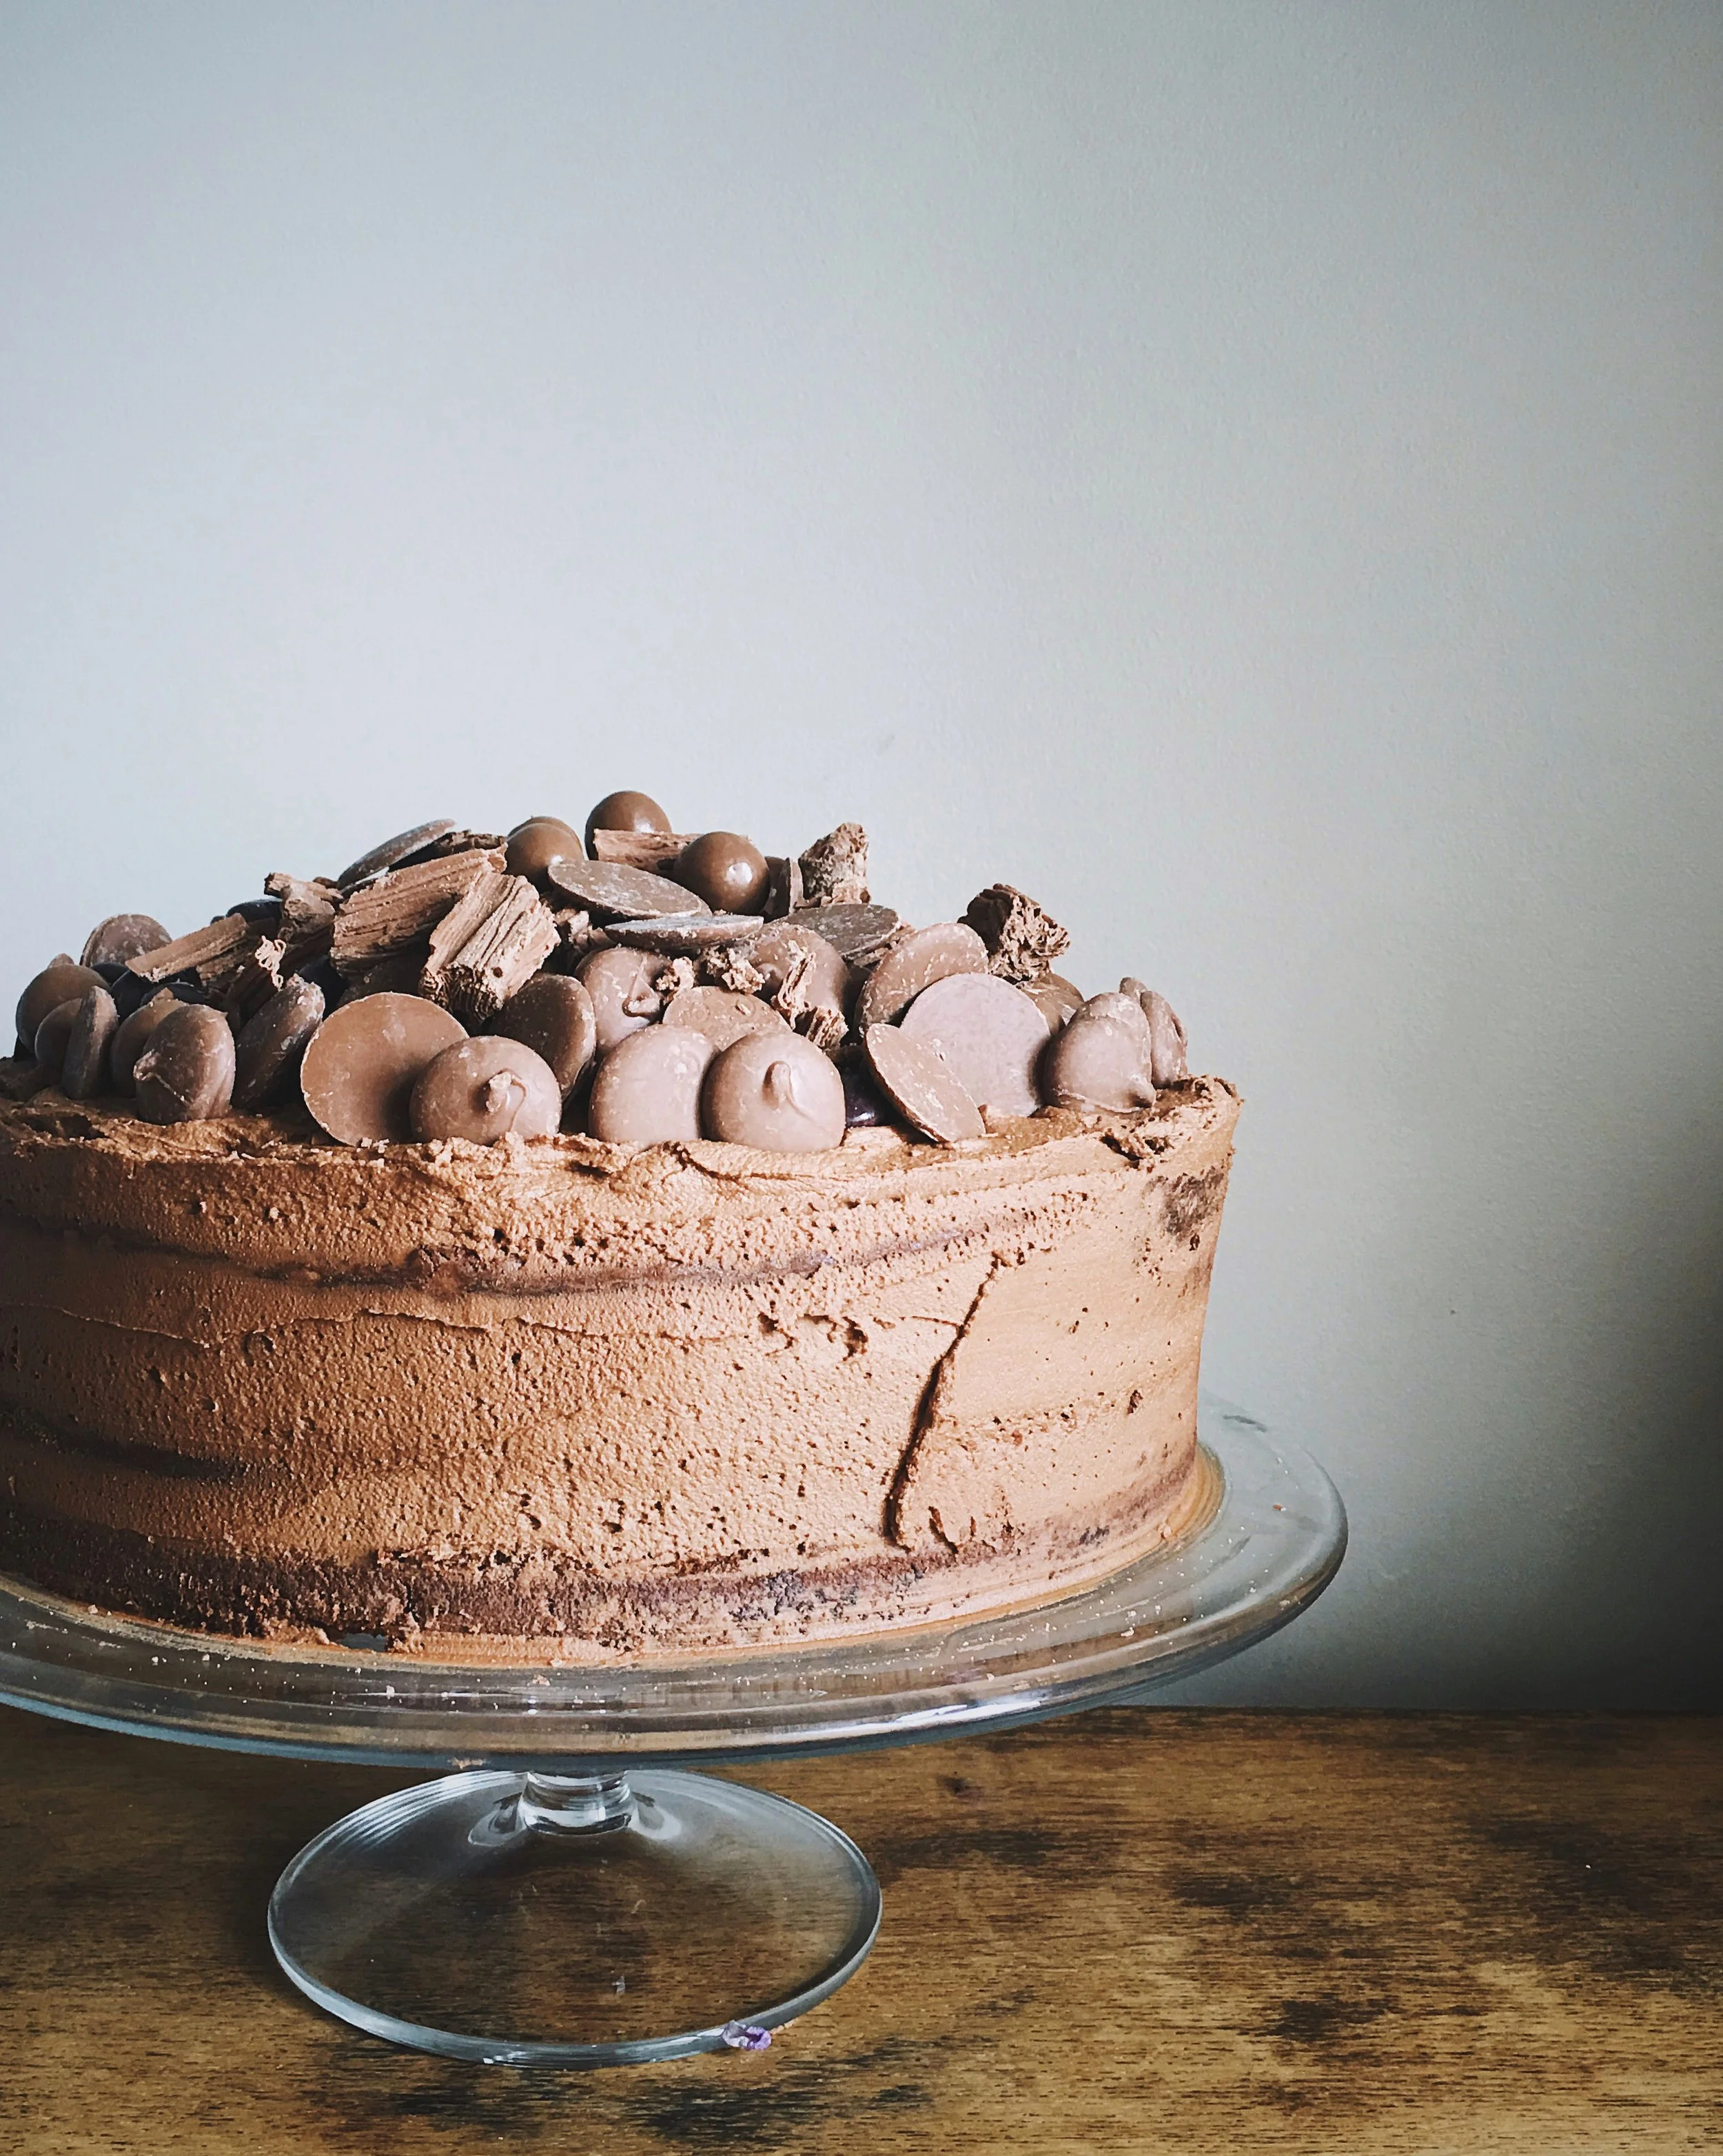
It is a two tier chocolate cake, sandwiched with chocolate buttercream and covered in chocolate buttons, flakes, maltesers and minstrels. You should have seen my other nephews, niece and my own children flock around as I was slicing it.
Equipment
You will need:
- One 25cm or 10 inch round cake tin. A loose-bottomed one is preferable. Of course you can always use a smaller size and make more tiers. And a square one of similar dimensions would work. The tin has to be greased with butter then sprinkled with flour and patted around so it thinly and finely covers all of the grease. This will allow the cake to come out of the tin easily once baked.
- An electronic mixer.
- Wire cooling rack.
- A small saucepan to make the sugar syrup.
- Pastry brush for the sugar syrup.
- A non-serrated knife like a palette knife for spreading the buttercream.
- A cake stand or plate.
Ingredients
For the cake:
- 340g or 12oz butter
- 340g or 12oz caster sugar
- 6 eggs (large)
- 300g or 10oz self-raising flour
- 40g or 2oz cocoa powder
- 300g dark chocolate (around 70%), melted and slightly cooled (but not solidified!)
For the sugar syrup:
- 40g or 2oz caster sugar
- 200ml cold water
- dash of vanilla extract
For the buttercream:
- 340g or 12oz butter, softened
- 400g or 14oz icing sugar
- 300g dark chocolate (70%), melted and slightly cooled
- A splash of milk
Decoration:
Chocolate of your choice
Method
- Pre-heat your oven to 160 fan.
- Using an electric mixer combine the butter and sugar until light and fluffy.
- Add the eggs along with a spoonful of the flour/cocoa powder (to stop the mixture from splitting). Mix.
- Add the rest of the flour/cocoa powder and mix well.
- Melt the dark chocolate then pour into the cake batter while the mixer is still going round.
- Once thoroughly combined you'll need to place half into the greased baking tin (either divide by 'eye' or use weighing scales to be more exact).
- Place in the oven for 25-30 minutes.
- Test if cooked through by pressing the sponge lightly. If it springs back it is cooked. You can also test using a metal skewer. If it comes out clean from the centre of the cake it is cooked. If it isn't - bake for a few more minutes.
- Allow to cool in the tin a little then tip out onto a wire rack.
- Wipe out the tin, re-grease and flour, then spread the second half of the batter into the tin and bake for the same time.
- Make up the sugar syrup (this makes the cake lovely and moist). Add the sugar, water and vanilla to a saucepan. Bring to the boil then simmer for a few minutes. Using a pastry brush dab half the sugar syrup all over the still warm sponge. Allow to cool.
- To make the buttercream - in the electric mixer combine the soft butter with the icing sugar. Mix for a few minutes to enable it to become light and fluffy (add a t-towel over the bowl to stop clouds of icing sugar from going everywhere!)
- Add the melted chocolate along with a splash of milk.
- Mix well (vigorously) for a few minutes.
- Once the sponge has cooled spread the buttercream over one half. Then place the other half on the top.
- Spread the rest of the buttercream over the top and the sides using a palette knife for a smooth effect.
- Decorate with as much chocolate as you can.
- If you aren't serving the cake that day (it'll be fine for the next day) then wrap the cake in cling film and place in a cool spot.


